It’s been a long while, but I’ve finally put together this video tutorial! My wash and go routine remains the same, and the consistency has proven positive for my curly mane. You’ll notice that I still use my go-to products but feel free to swap them out as needed to work with your hair. I hope this helps your curly mane. Got questions? As always, drop your q’s down below. Want to see more videos, please subscribe to my YouTube channel.
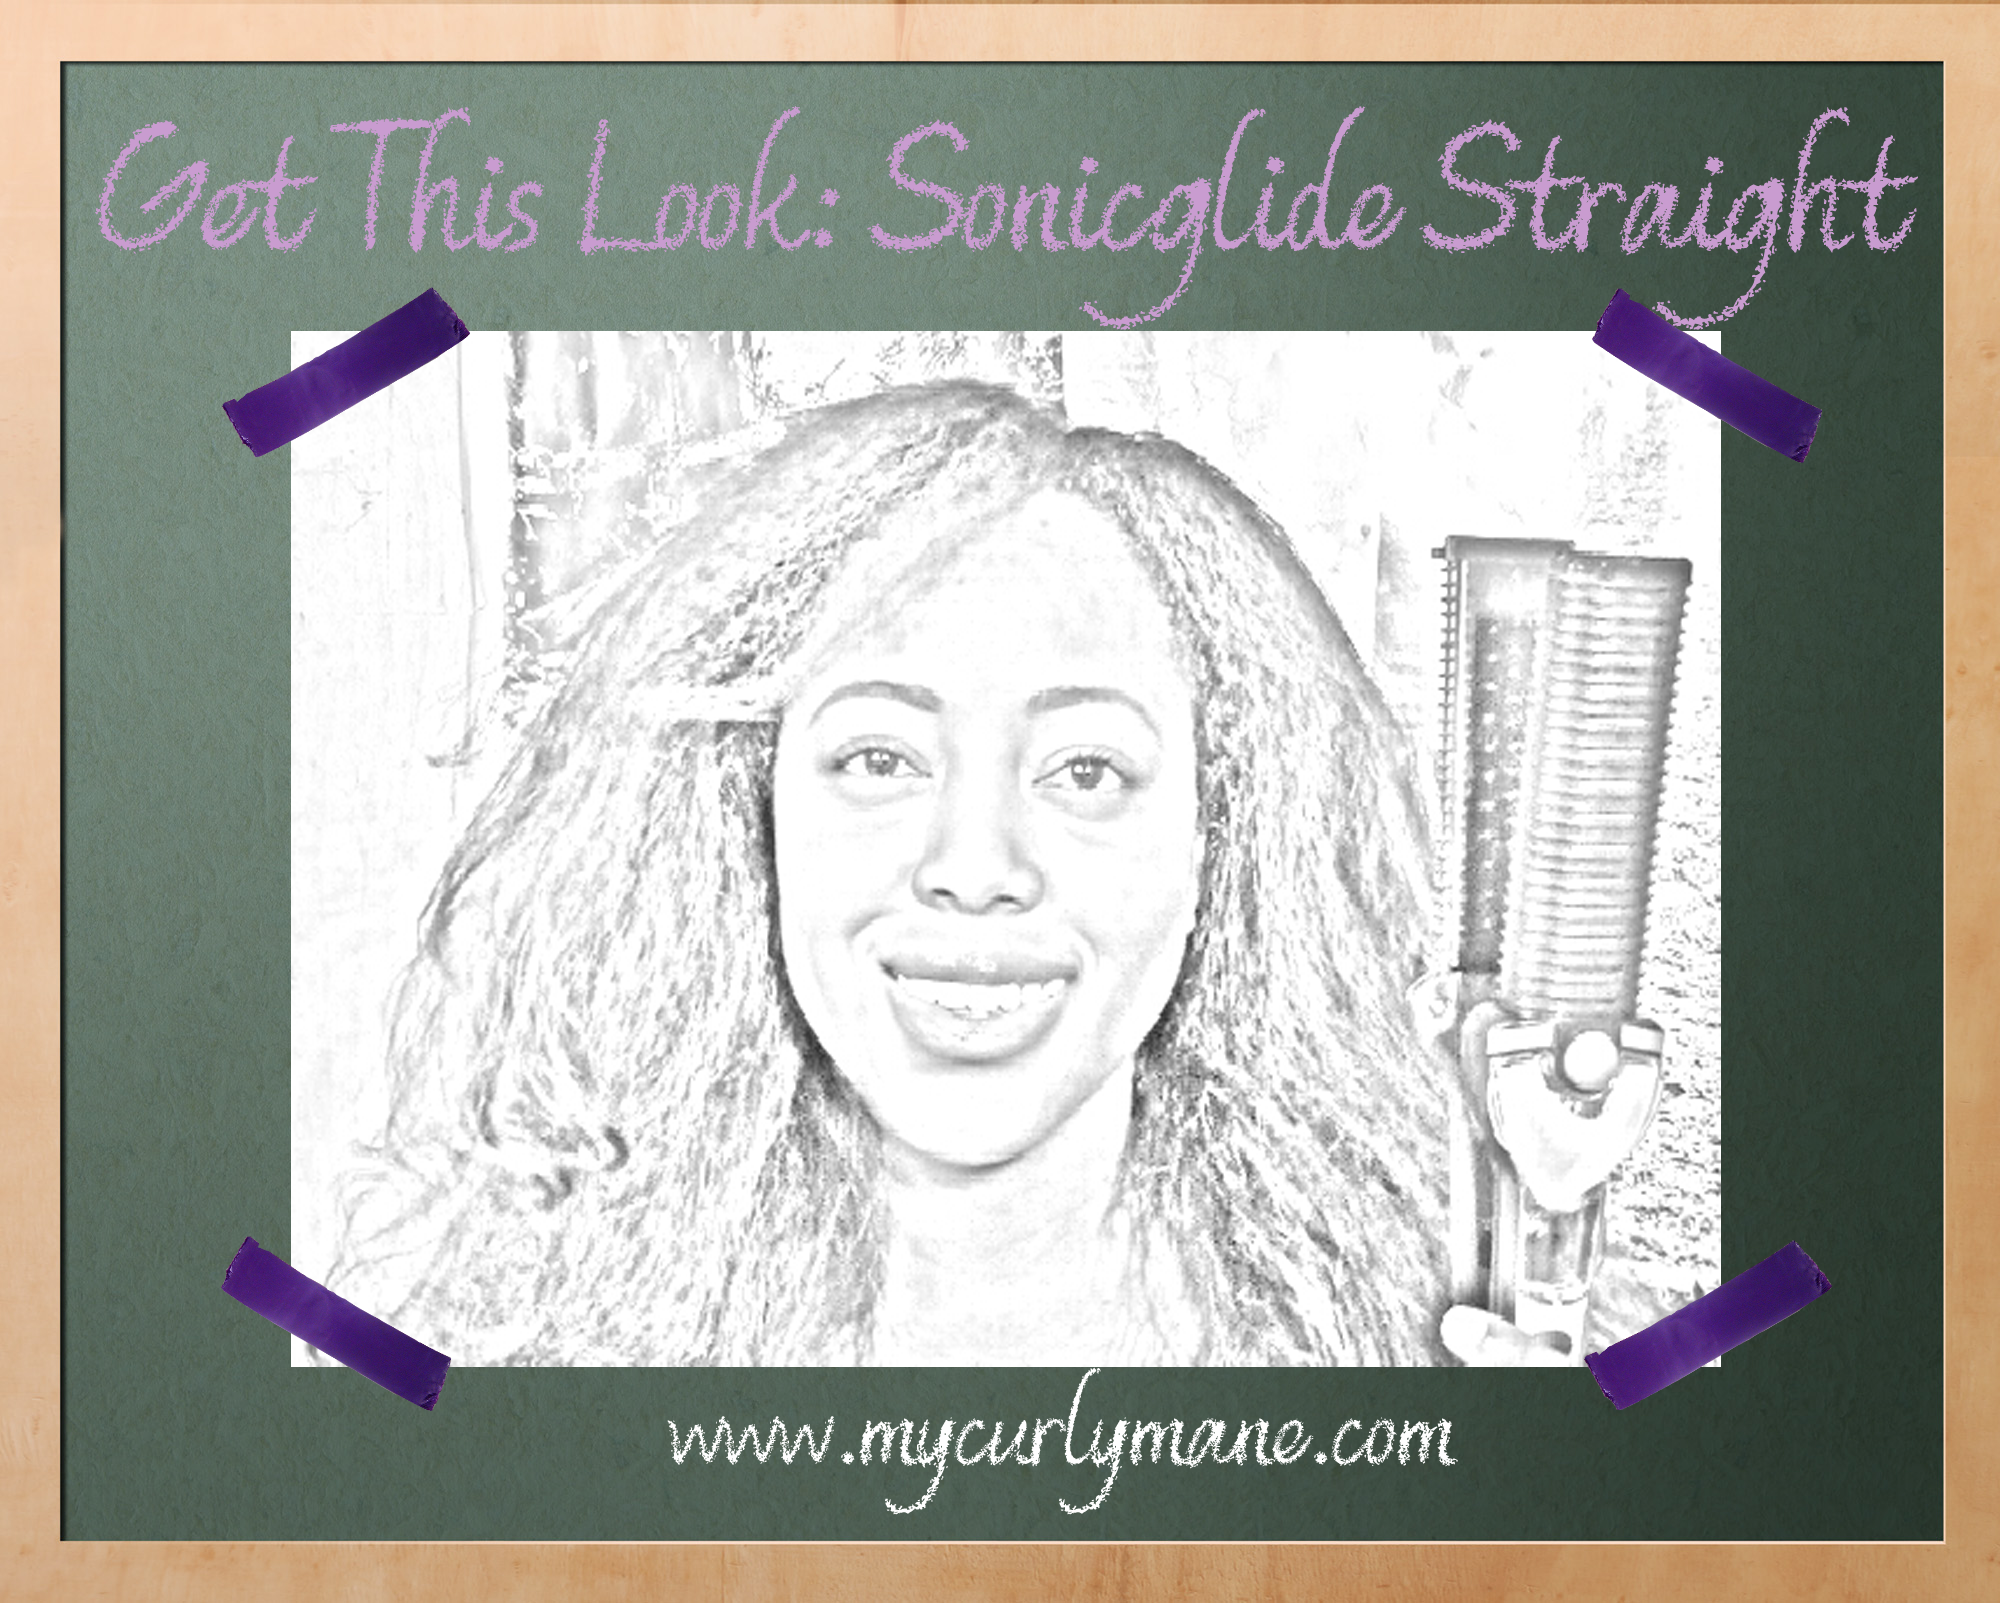
The final video in the four-part Sonicglide series is here! Phew! Thank you for your patience. In this video, I show you the steps you can take to straighten your natural hair with this professional flat iron.
The Maxius Sonicglide is almost exactly the same as Maxius’ Maxiglide hair straightener. Like the Maxiglide, the Sonicglide uses steam to hydrate and straighten hair. Yes, just like ironing the wrinkles out of your clothes. Watch Part 2 in this series for details on how these two flat irons for natural hair stack up against each other.
In this video, I show how this flat iron works similar to the chase method in which a fine tooth comb is chased by a regular flat iron. I may have missed mentioning some additional tips, so I’ve listed them all below. They are:
*Comb out each section of hair before straightening it –before step 3 in the video. I skipped showing this part, since I wanted to focus more on using the iron for straightening, but I realize it’s important for you to know this. I don’t want you to rip the straightener through tangled, knotty hair! Please remember to comb out each section first before steaming out the “wrinkles.”
If you get a knot while gliding, pause, detangle your hair, then continue gliding.
Steam the length of your hair with the Sonicglide before gliding/straightening your hair without steam.
Glide (not tug) the iron straight through your hair on the first pass–without bending or flipping it. Do not clamp down too hard on the iron. The whole idea is to literally glide it through your hair, hence the name. 😉
Adjust the heat to fit your hair texture. Don’t cook your tresses!
Use steam and clamp and unclamp the iron to aid in curling ends. I recommend turning down the temperature of the straightener while adding curls and flips.
Roll hair in satin lined rollers overnight to create curls and waves that lasts for days.
*You’ll get great results if you roll each section right after you use the Sonicglide to straighten and bump the ends.
In part 3 of this series, I prepped my hair for safe straightening by doing a braid-out. You can do the same, although some naturals prefer to blow dry their hair first. This is my least favorite method, as I don’t think my hair is as shiny and bouncy as it is with a braid-out. Also, this adds unnecessary direct heat to hair. As an alternative, you can prep your hair by doing a roller-set, which produces the best results.
In case you missed it, check out part 1, part 2, and part 3 of this series. You’ll discover how I stumbled across this straightener while I was originally in pursuit of the Maxiglide. No, I am not paid by the company to endorse this product. Just passing the good news along.
It has arrrriiiiived! Introducing part three of the four-part series on the Sonicglide! In this video, I show you how to do a braid-out–the perfect style for pre-straightening your hair. Braid-outs create a looser, wavier texture, so you don’t have to use as much heat to straightened tightly curly hair.
When I braid my hair, I air dry it overnight, so I can skip using a blow dryer. Once again, the less heat the better! Also, you should use a silicone-based product to seal in moisture and work as a heat protectant.
While braid-outs are great starters for using a Sonicglide, I get the best results when I roller-set my hair and dry it under a hooded dryer prior to straightening. Your hair will be looser than doing a braid-out and veerrry soft from the dryer. The end result after straightening is bouncy, flowy hair. If you’ve had a “Dominican roller-set” then you know what I’m referring to. I highly recommend this technique!
A braid-out is one of the simplest, classic styles for naturals. You can keep your hair in this ‘do or proceed to part 4 of this series (soon to come!).
Part 2 of the Sonicglide series is here! In this installment, I highlight the features of the Sonicglide and compare this steam straightener to the Maxiglide. In case you’ve never heard of either flat iron, there’s no need to worry. I’ll fill you in.
The Maxiglide is a hair straightener that uses steam to literally iron out curls. In my previous post on the Maxiglide, I discussed my success in using this iron. I also shared my inability to locate and purchase another model, disappointment with the newer models (pre-Sonicglide), and correspondence with Maxius Beauty, the company behind the Maxiglide. Last year, I was informed that a new model, the Sonicglide was on its way. Well, as you know, it has arrived.
In Part 2 of My Curly Mane’s four-part video series, you’ll see how closely the Sonicglide mirrors the Maxiglide. Originally, the Sonicglide was marketed as a vibrating iron … but I didn’t notice any vibrations. There also wasn’t any mention of this in the packaging or instruction manual. In fact, inquiring minds (my own and perhaps yours as well!) believe that this may be the same tool as the Maxiglide. Hmmm … I’ll delve further into this in the conclusion of this series. For now, tune into the second video.
I said that I was going to do it, and I did! I purchased a Sonicglide! I had to find out what this new installment from the team at Maxius was all about, discover how it compared to the original Maxiglide, and report back to you. In case you’re wondering where my hunt for a Sonicglide/Maxiglide came from, read my previous post. To give you the full low down, I broke up my video into a four-part installment:
Part 1 (included above) highlights my experience unboxing my order. You’ll find out what’s included in your order.
Part 2 describes the features of your tool, particularly in comparison to a Maxiglide.
Part 3 gives you tips on how to prep your hair for straightening.
Part 4 outlines the steps needed to properly use a Sonicglide and get the best straightening results.
Parts 2 through 4 are currently in development. Stay tuned! In the meanwhile, I’ve got the first video ready for your viewing pleasure!
Got questions I didn’t answer? Please leave your comments below.
A few weeks ago, I outlined the steps needed to create a high bun. Did you get a chance to practice this? If you have this look down, I challenge you to take it one step further. I’d like for you to try to create a decorative high bun, incorporating braids and faux color.
At first, I planned to write down the detailed instructions for you, as usual. After further thought, I realized that you may be a visual learner. I get it. There is something about watching tutorials that allows everything to just click. So, I mustered up the courage to … film it! Yes, I’d like to introduce to you my very first tutorial. Cue the horns! Da-da-da-daaaa!
When I filmed this, I dove right into creating the look. It wasn’t my best attempt, but it can be yours if you remember to:
Neatly braid your sections. This will enable the cream eyeshadow (used to add color) to neatly smooth onto your hair.
Werk a messy or neat bun. Either will do the trick. *snaps fingers twice in the air.*
Hide bobby pins in the hair, so they’re not visible.
Pin down bangs as needed to frame your face.
As you know, I’m a writer, and this blog will always be the core. If you enjoy the visual explanations (and the nuttiness of it all—you know that was a must!), let me know. Maybe there’ll be more to come!
Watch and enjoy! Remember to leave your questions below.


Recent Comments