by Nay | Aug 18, 2012 | Newly Natural, Products, Tips
Updated 8/4/13: This post lists key items to help you maintain your natural hair. Please note that there’s an eBook with the same title, A Curly Girl’s Essentials: A Guide for Navigating Your Curly Mane, that is now available for FREE when you sign up for My Curly Mane’s updates! The eBook includes basic information (including the list below) that will help you attain healthy hair. Subscribe and see!
____________________________________________________________________________________________
Back to the deets: The net is bubbling up with information on caring for naturally curly hair. Woo hoo! While there are more resources at our fingertips, it also makes it a bit more difficult to find simple, basic information on how to care for natural hair. I don’t want to confuse you even more, particularly you newbies out there.
Instead, I’m going to break down for you a few essential items that every curly girl needs in her stash. For my easy, breezy minimalist gals, this one’s up your alley! The products for natural hair and tools below are listed in the order in which they’re most likely used.
1. Moisturizing & Clarifying Shampoo / Sulfate Free Shampoo
If you are using products (mainly stylers) that contain mineral oil or non-water soluble silicones, you will need to use a shampoo to clarify your curly mane. Mineral oil and silicones can trap moisture within your strands or prevent it from entering your hair shaft. They tend to build up onto your hair, particularly African-American natural hair, and are best removed with shampoos.
Typically, shampoos contain sodium lauryl sulfate, a detergent that creates a foamy lather and strips hair of its natural oils. Frequent shampooing dries out our curly manes, making them susceptible to breakage. Unless your hair is naturally oily, please shampoo minimally. Your best bet is to purchase a shampoo that is also moisturizing.

If you’re following Lorraine Massey’s Curly Girl Method (Curly Girl: The Handbook ) aka the noo poo (no shampoo)/co-washing (conditioner washing) method, there may be times in which your curly natural hair is over moisturized. Yep, would you believe that one? Hair that is holding too much moisture will be limp. If you fall under this category, use a sulfate free shampoo to clarify and help wake up your strands. Just an aside, a protein treatment may help as well.
Recommendations:
Sulfate-free: Miss Jessie’s Crème De La Curl Cleansing Crème and Creme of Nature Moisture & Shine Shampoo with Argan Oil
Moisturizing: Creme of Nature Detangling Ultra Moisturizing Conditioning Shampoo and Dabur Vatika Moisturizing Shampoo with Sweet Almond
2. Moisturizing Conditioner
This is a must, especially if you use shampoo. Conditioners help to restore the moisture that shampoos take away. Not to mention, they add necessary slip for detangling tresses. In addition, conditioners can be left in your hair as a styler. This is known as Teri LaFlesh’s Tightly Curly Method. While I haven’t had success with this method, it may prove positive for you.
Recommendation: Herbal Essence’s Hello Hydration

3. Leave-in Conditioner
Another must have! Leave-ins are crucial to many, if not most, curly girls. When used under your styler and sealed with oil (unless your styler contains enough oils), leave-ins keep curly hair moisturized. It also adds definition and reduces frizz.
You can use a regular conditioner as a leave-in, just beware that some conditioners react to stylers and cause white balls to appear on one’s hair. Not all products play together nicely. 😉
Recommendations: I have recently switched from using Avanti Silicon Mix and swear by Beautiful Textures Tangle Taming Leave-in Conditioner. This product is amazing!! Check out my product review.
4. Wide Tooth Comb/Detangling Brush
Unless you’re seeking a wickedly neat part, leave your fine tooth combs in the back of your draw. Our tresses need wide tooth combs to easily glide their way through our hair. They are extremely helpful when paired with a moisturizing conditioner to detangle hair in the shower. Some curlies prefer to use a Denman brush or Tangle Teezer. This is particularly helpful if you’re using the Tightly Curly Method mentioned above. I prefer wide-tooth combs, as I’m one of those curlies who get serious shrinkage and lose a lot hair from brushes.
5. Oil and/or Butter
Your curly mane may work well with butter, oil … or both! Either one will seal moisture into your strands, literally making your hair feel like butta! This should be included as a step in your wash and go (see my 10 steps for wash and gos). You can also use oil or butter as a heat protectant when straightening. In addition (yes, there’s more!), they can be used nightly to seal in moisture into your hair or help to soften and revive your look in the morning.


Recommendations: Almond Oil, Coconut Oil, Dabur Vatika Coconut Hair Oil , Jojoba Oil, and Olive Oil
6. Styler
Not every girl needs a styler, but this curlie does. Stylers are products that literally help to style your hair. They increase definition, can freeze curls, and can reduce shrinkage. Stylers prevent my hair from completely transforming into a cotton ball. If this is your desired look, then skip it.
Recommendations: III Sisters of Nature Curly Whip Pudding, Eco Styler Gel, Fantasia IC Olive Oil Style Gel, Fruit of the Earth 100% Aloe Vera Gel , Hair Rules Kinky Curling Cream, and Miss Jessie’s Quick Curls,
7. Hair Clips
They aid in styling your hair or can be used as part of your finished looked. Hair clips section your hair as your work through your head. They are particularly helpful as your hair grows longer. It’s either that or invest in more hands!
8. Spray Bottle
Water is nature’s moisturizer. It is a curly girls’ best friend. At some point in your regiment, you’ll need a spray bottle to help douse your hair as you style it. If you’re into rewetting your hair throughout the day, a spray bottle will ease the process.

9. Satin or Silk Pillowcase/ Scarf/Sleeping Cap
Another must! You can read my information on Nighttime Routines & Sexy Sleeping For Naturals for more details on satin materials. Please note that satin and silk materials do not absorb the moisture in your hair (unlike cotton), preventing your hair from drying out and breaking. Not to mention, it will save you from “bed head.”
10. Camera
This is a must for chronicling your curls. Documenting your hair journey through photos or videos will help you to keep track of your routine and hair health. Aside from badgering your friends, how else will you know what’s working for you?
Once you have these items, you’re pretty much set to go. For those of you in pursuit of how to grow natural hair, these items will keep you on course. Of course, if you are seeking additional styling aids, there are tons of other tools (hair dryers, flat irons, etc.) and products in which you can add to your arsenal. Don’t worry. I’ll keep you posted! 😉
by Nay | Jul 17, 2012 | Mane Styles, Products
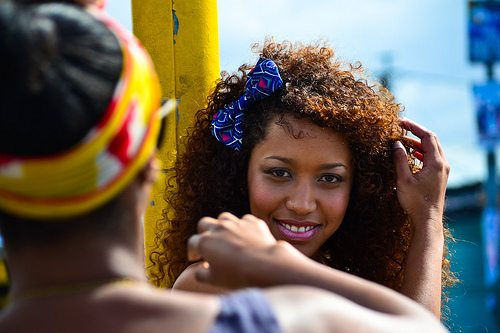
A girl without braids is like a city without bridges.” ~ Roman Payne, Rooftop Soliloquy

My curly mane braided out with aloe vera gel
Previously, I shared with you the many benefits of aloe vera on hair and my shock and awe at the results of my hair styled with aloe vera gel (AVG). Yes, shock and awe. Well, I didn’t want to leave you hanging, so I continued to use the gel for a full week (how’s that for due diligence?). I even incorporated it into my plaits/braid out routine, a welcomed change from my typical wash and go. The results?
Perfect! I am truly amazed. Aloe vera gel gave me a soft and defined braid out with little shrinkage. Typically, with other products, my hair results wane as the days go on. Not to mention that the product tends to dry out my hair, leave it dull after the first day, and/or leaves a slightly frizzed result. Not with aloe vera gel! I was able to resuscitate my braided out mane each night, getting 2nd, 3rd, and even 4th day hair! I kid you not. I also got some compliments … and confused stares (here she goes again with new hair).
You can achieve this look by following the steps below. You can also use braid outs as a protective style, meaning it will protect your strands from breaking and splitting by hiding and securing your ends (while in braids). This is particularly good for curlies whose hair does not like wash and gos or if your personal preference is for a more elongated curly look.

My first day results of a braid out using aloe vera gel. Great for working gals.
Tools:
- Spray bottle with water
- Leave-in conditioner (I’m experimenting with Beautiful Textures’ Tangle Taming Leave-in Conditioner and having positive results.)
- Oil/oils of choice (I used my Vatika Oil Mix. You can use plain Dabur Vatika Coconut Hair Oil)
- Aloe vera gel (I used Fruit of the Earth 100% Aloe Vera Gel)
- 2 rubber bands
- Hair dryer
- Hair clips
First Things First:
1. Work on freshly washed hair. Yes, curlie, wash your mane!
2. Start at the back of your head and work your way towards the front.
3. Part your first section of hair and section off the rest of your hair with a clip. The bigger the section, the larger the curls and waves will be.

Braid outs are a great way to check your growth progress. Slow and steady wins the race!
4. Layer products in the following order: leave-in conditioner, oil (for sealing in moisture), and aloe vera gel.

By placing my plaits in ponytails, it helps to stretch my hair. Check out the little wormy curl by my neck. LOL!
5. Braid your hair and twirl the ends around your finger. This will leave a curl at the ends. I applied a little extra conditioner to my ends to add moisture and aid in the twirling action.
6. Continue to braid all over your head. I do approximately 8-10 plaits.
7. You can leave your hair as is, or place your braids in two pony tails (see pic) using rubber bands. I use this method to further stretch my hair. If you like more body at the top of your head (va-voom!), skip the ponytails, as it will pull your hair south as opposed to up and out. I skipped the ponytails for my 2nd day hair results.
8. Let your hair air dry or sit under a hooded dryer. It may be easier to do this routine at night, and let your hair air dry overnight, which is what I did.
9. Once dry, gently unbraid your hair. If you let it dry overnight and it’s still a little wet, gently unbraid your hair and blow dry (not scorch) it. Once dry, I like to use a blow dryer (again) to tug and stretch my hair even more. The blow dryer also helps my products, particularly the oils, absorb into my hair, softening the hair further.
10. Fluff and separate curls as desired in order to hide the parts in your hair. You can also add accessories as desired. I added a black flower (and a little gloss and glam!) on my 2nd day.

My hair on the 1st day, after braiding it overnight.
For 2nd Day Hair
1. Work in sections again, from the back to the front of your head. You can use the same areas you used before or use new sections. If you’re using a new section, remember to gently separate your hair strands.
2. Lightly spritz sectioned off hair with water.
3. I added more aloe vera gel because I wasn’t sure if I’d get enough definition. You can skip this or go in the opposite direction and add aloe vera gel, oil, and/or more leave-in. This will require some experimentation. Please listen to your hair and its needs.
4. Re-braid hair.
5. Air or blow dry.
6. Unbraid and fluff. You can also briefly blow dry and stretch your hair.
For 3rd Day Hair

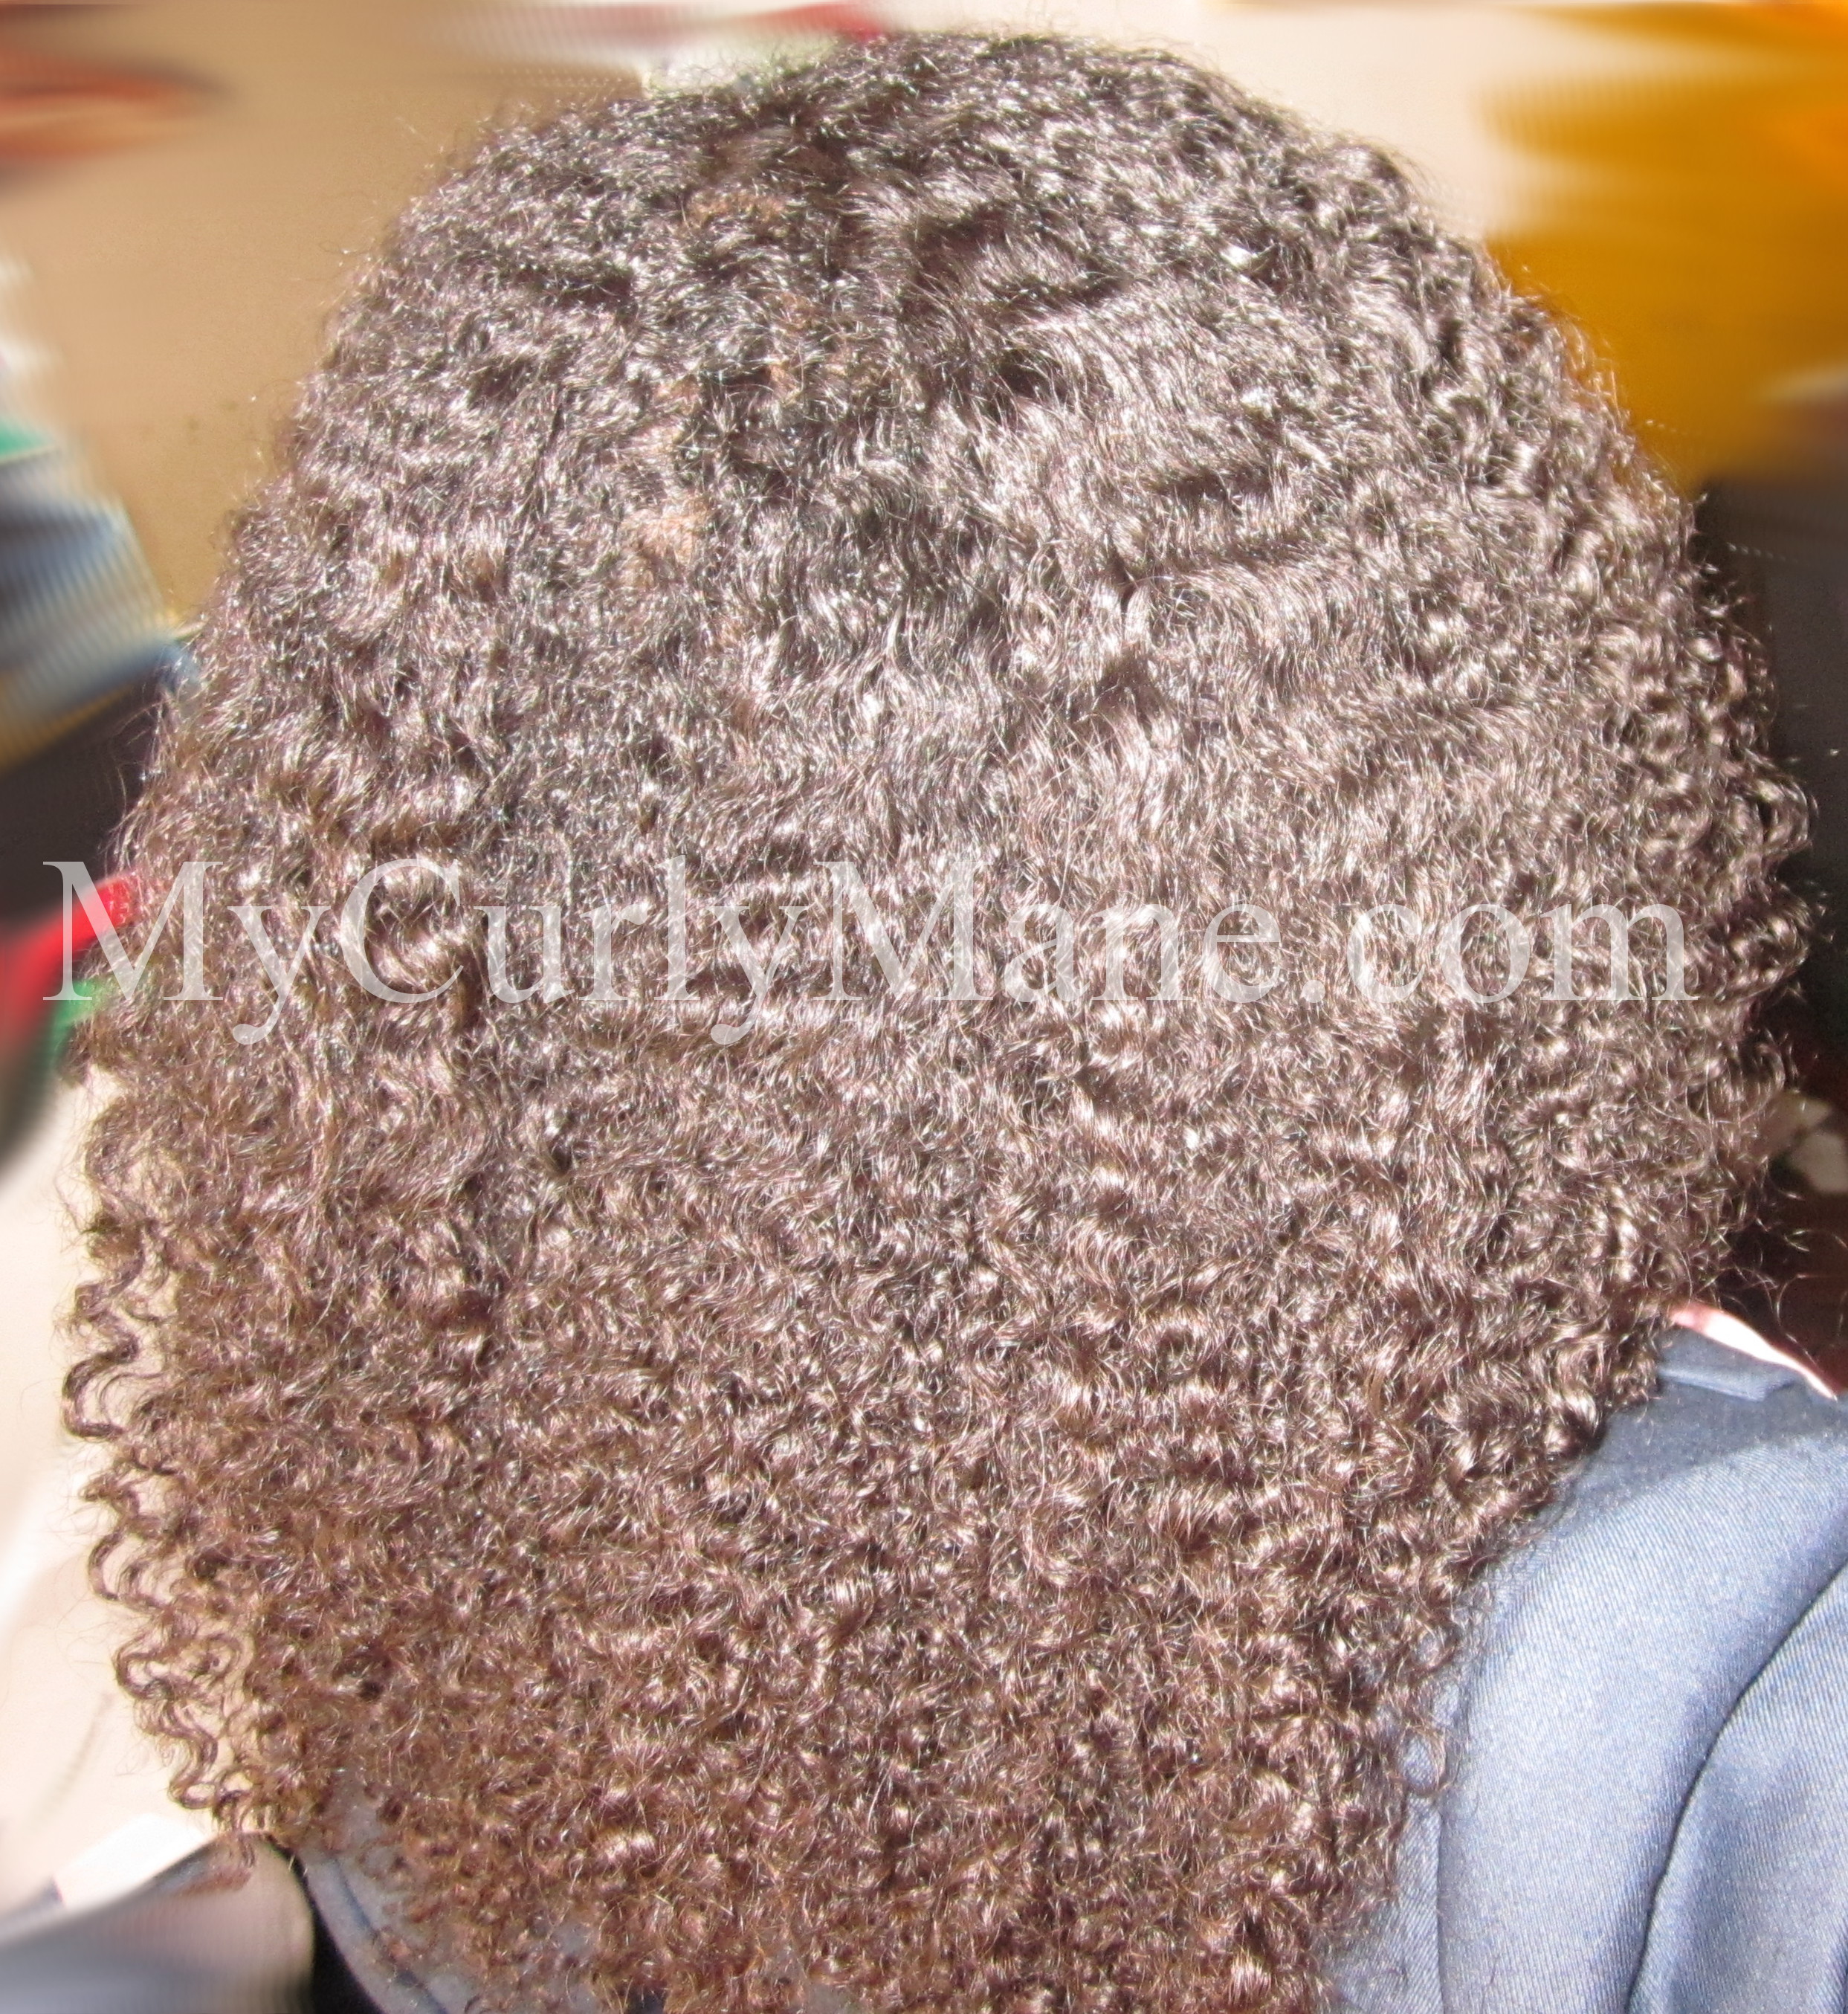
This is my hair on the 2nd day. I had near duplicate results on the 3rd day. Note the fuller texture due to humidity. AVG still gave me great definition, soft hair, and little frizz. I accessorized this look with a black flower.
Repeat the steps used for the 2nd day (above). I skipped the aloe vera gel and just added more leave-in, as I felt my hair needed a little more moisture. Once again, listen to your hair.
Try aloe vera gel on your natural hair. If your hair and scalp permits, you can continue to wear your hair in this style for consecutive days. Just repeat the steps above. Try it (don’t forget the gloss and glam!) and share your results.
by Nay | Jul 9, 2012 | Mane Styles, Products

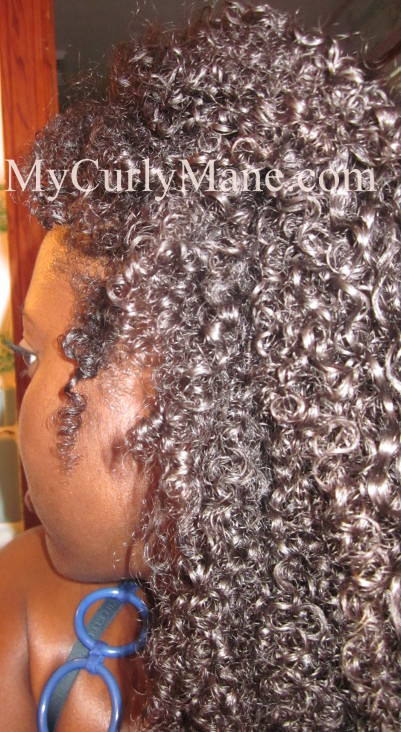
My curly mane’s popping curls thanks to aloe vera gel.
With the recent bout of extreme heat and high humidity, I’ve found that my usual go-to products for wash and gos just aren’t able to tame my curly mane. The perfectly styled and defined curls that I leave the house with in the morning have ended up as a frizzed out, shrunken cotton ball in the evening (whomp, whomp). While I am taking fellow curly girls’ suggestion to embrace the frizz, I am also exploring another curlie’s suggestion—seal with oil and use Fruit of the Earth 100% Aloe Vera Gel.
Three years ago, I purchased aloe vera gel (AVG) upon the suggestion of natural hair boards. At that time, it just didn’t seem to work on my hair, leaving it dry and crunchy. In hindsight, there may have been many factors which impacted the results of the gel (see if the following applies to you):
- My hair wasn’t in its true state, as it was damaged and rehabbing from my straightening addiction.
- I regularly rotated products in an attempt to find a holy grail, so my hair may not have been clarified enough.
- I can’t recall, but I might have tried the gel during the winter, when humectants like aloe vera gel tend to dry out hair. Unfamiliar with humidity’s impact on curls? The basic breakdown is that humectants can either draw moisture into or out of the hair, depending on humidity. Yes, it gets a little technical. For a full breakdown, Pittsburgh Curly does a great job of explaining humidity and humectants.
Since a full bottle of aloe vera gel has been patiently waiting under my bathroom sink all these years (pick me, pick me!) and my hair is in a much healthier state, I decided to take up the suggestion and revisit the all-natural gel, particularly since it’s an ingredient in a lot of the stylers that I use.
Benefits

Wet hair styled with aloe vera gel.
1. AVG is typically 100% organic.
2. AVG moisturizes the scalp, treating dandruff problems.
3. AVG treats hair loss and promotes fast hair growth (I’m in!).
4. AVG adds sheen to dull hair.
5. AVG balances hair’s pH level, thereby sealing hair’s cuticle layer. This locks moisture into your strands and minimizes frizz.
6. AVG makes curls pop and gives a light hold.
7. AVG leaves your hair super soft.
8. AVG doesn’t contain mineral oil, so you can conditioner wash your hair, thereby adding more moisture into your strands.
9. You can snag a bottle of AVG at any Target or Walmart for under $5. I prefer to use Fruit of The Earth Aloe Vera Gel.
10. If AVG doesn’t work on your hair for styling, you can add it to your shampoo or conditioner for added moisture. If that doesn’t work, you can save it for when you or the next person you know has sun burn!
Styling Tips
Some curlies are successfully mixing aloe vera gel into their own brews. Since I’m not a mixologist, I’ve been layering the gel as I do with my stylers. Do whatever suits your fancy. Here’s how I apply aloe vera gel.

My curly mane styled with aloe vera gel and blow dried.
1. Work on wet, newly washed/co-washed hair.
2. Smooth a leave in conditioner all over your curly mane. I usually use Silicon Mix, but I recently tried Beautiful Textures’ leave in conditioner. So far, it responds well and easily absorbs into my hair. I’ll elaborate more on this product line soon.
3. Style your hair in sections, beginning in the back and working towards the front.
4. In each section, layer products, beginning with additional leave in conditioner.
5. Seal the conditioner with a layer of oil. I like to use Vatika Oil or my oil mix (Vatika Oil, Jamaican Black Castor Oil, Jojoba Oil, and Avocado Oil).
6. Layer aloe vera gel on top of your oil.
7. Repeat layering your leave in, oil, and gel on all sections.
8. Part your hair how you’d like to style it (in middle, side, etc.).
9. Blow or air dry hair. I blow dried my hair because I like to have predictable results and do additional fluffing when dried.

The final, dry haired results, of using aloe vera gel.
Results
Amazing! When I applied aloe vera gel on my wet hair, I was shocked by how smooth and defined my curls appeared (see photos). There was virtually no frizz. After drying, my curls were still seriously defined and fluffy, with minimal frizz.
I used aloe vera gel during three scorching hot, humid days, and I still had great results. I looove how soft and shiny my hair is. I can even now co-wash, since I don’t have to clarify a product to avoid build up. This has been keeping my hair extremely soft and moisturized thus far, which should aid in hair growth. We shall see!
The only downfall is that the gel doesn’t allow me to stretch my hair as well (for length), since my hair is so curly. However, I am able to still have big, fluffy hair.
I will continue to explore the wonderful world of aloe vera gel, particularly on braid/twist outs, and I’ll report back. In the meanwhile, test it out, and share your pics and tips!
UPDATE: Check out the wicked results of my braid-outs with aloe vera gel.


Recent Comments